Baking bread at home can be a rewarding and enjoyable experience, offering the satisfaction of creating fresh, delicious bread from scratch. If you’re new to bread baking, these tips will help you get started and achieve successful results.
Choose the Right Recipe
Start Simple: As a beginner, it’s best to start with a straightforward recipe that doesn’t require specialized ingredients or techniques. Look for recipes labeled as “beginner” or “easy,” which often use basic ingredients and methods.
Understand Ingredients: Familiarize yourself with the key ingredients in bread baking: flour, water, yeast, salt, and sometimes sugar or fat. Each ingredient plays a role in the texture, flavor, and rise of your bread.
Invest in Quality Ingredients
Use Fresh Yeast: Yeast is a crucial ingredient for leavening bread. Ensure you use fresh, active yeast for the best results. Check the expiration date and store yeast in a cool, dry place.
Select Good Flour: Bread flour, which has a higher protein content than all-purpose flour, helps develop gluten and provides structure. However, if you don’t have bread flour, you can use all-purpose flour as a substitute.
Master the Basics of Kneading
Knead Properly: Kneading develops the gluten in the dough, giving your bread its structure and texture. Knead the dough on a floured surface until it becomes smooth and elastic, usually about 8-10 minutes.
Avoid Over-Kneading: Over-kneading can lead to dense, tough bread. If the dough becomes too sticky, sprinkle a little flour as needed, but be careful not to add too much.
Understand Proofing and Rising
First Rise: After mixing your dough, let it rise in a warm, draft-free place until it doubles in size. This process, known as proofing, allows the yeast to work and develop flavor.
Second Rise: Punch down the dough after the first rise to release excess air, then shape it and let it rise again. This second rise is crucial for achieving a light and airy texture.
Pay Attention to Temperature and Time
Monitor Temperature: Bread dough should rise at a consistent, warm temperature, typically between 75-80°F (24-27°C). If your kitchen is cool, you can place the dough in a slightly warmed oven (turned off) or near a heat source.
Preheat Your Oven: Always preheat your oven to the correct temperature before baking. A hot oven ensures that the bread starts baking immediately, which helps it rise properly.
Use Proper Baking Techniques
Bake on the Right Rack: Place your bread on the center rack of the oven for even baking. If baking multiple loaves, space them adequately to allow for proper heat circulation.
Check for Doneness: Bread is done when it sounds hollow when tapped on the bottom or has an internal temperature of about 190-200°F (88-93°C). You can also use a toothpick or skewer to test for doneness.
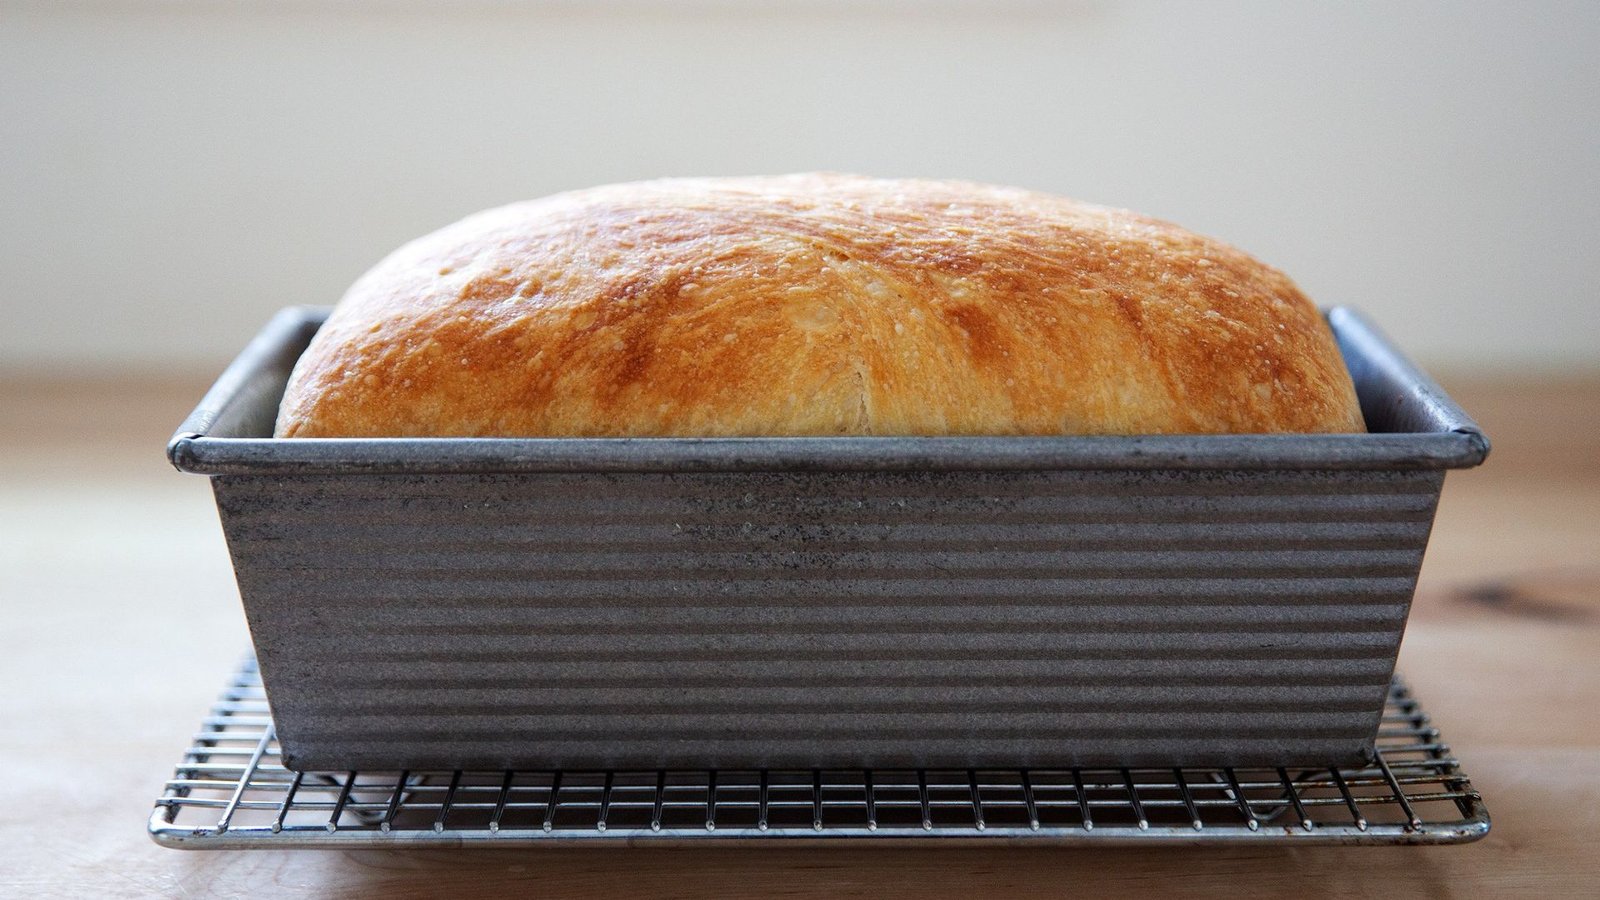
Let Your Bread Cool
Cool Properly: Allow your bread to cool on a wire rack after baking. This helps prevent the crust from becoming soggy and ensures that the bread finishes setting up.
Avoid Cutting Too Soon: Let the bread cool completely before slicing. Cutting too early can result in a gummy texture because the bread needs time for the steam to escape and the crumb to set.
Experiment and Have Fun
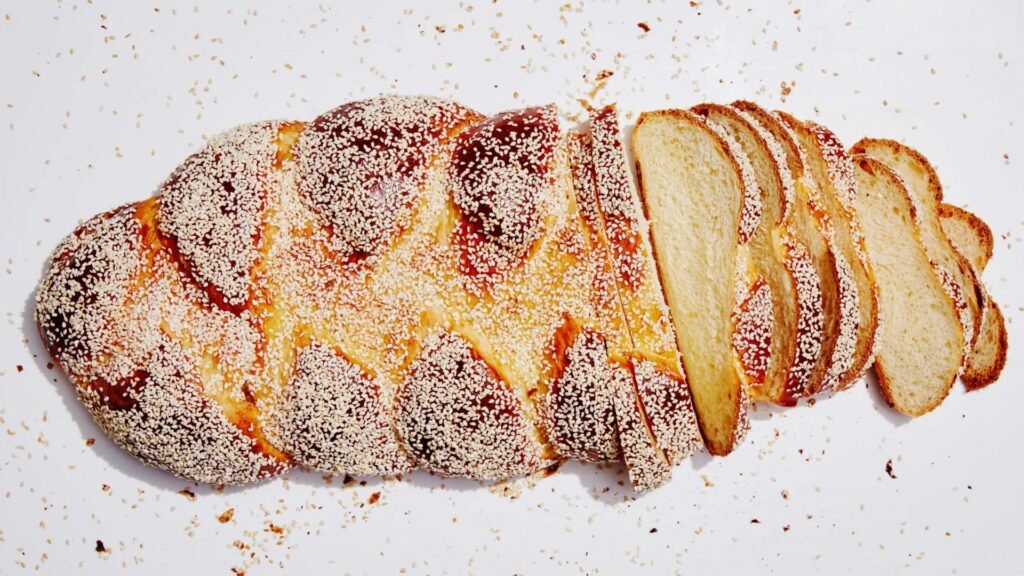
Try Different Recipes: Once you’re comfortable with basic bread baking, experiment with different recipes, such as whole grain, sourdough, or enriched breads. Each type offers unique flavors and textures.
Enjoy the Process: Baking bread can be a fun and creative process. Don’t be afraid to make mistakes or try new techniques. With practice, you’ll refine your skills and develop your own bread-baking style.
Culinary Delights and Online Entertainment
At The Red Kitchen, food enthusiasts discover delicious recipes and cooking tips to elevate their culinary skills. For a different type of excitement, Jokacasino Club provides an engaging platform with thrilling online games. Both platforms emphasize user enjoyment and quality experiences.
Conclusion
Baking bread at home is a rewarding endeavor that can bring fresh, homemade bread to your table. By following these beginner tips—choosing the right recipe, using quality ingredients, mastering kneading and proofing, and paying attention to baking techniques—you’ll set yourself up for success. With time and practice, you’ll become more confident in your bread-baking skills and enjoy the delicious results of your efforts.